如何使用xheditor可视化编辑器
xheditor是基于jQuery的迷你可视化编辑器。用xheditor可以方便快速的制作出一个编辑器出来。因此在开发WEB网站中很常使用。现在我们来看看如何使用xheditor可视化编辑器吧。

工具/材料
xheditor
操作方法
【步骤01】
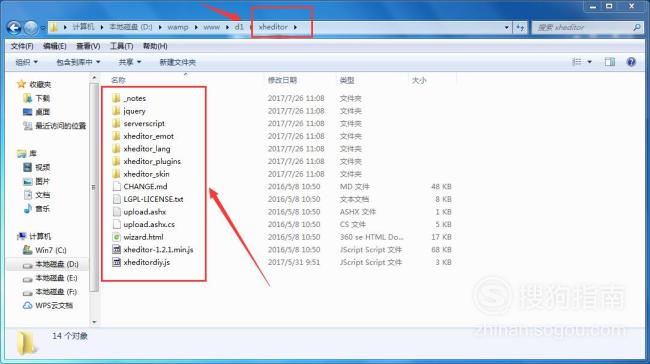
下载xheditor版本并解压
xheditor版本在网上下载即可。然后把下载下来的zip文件解压。如下图所示:
【步骤02】
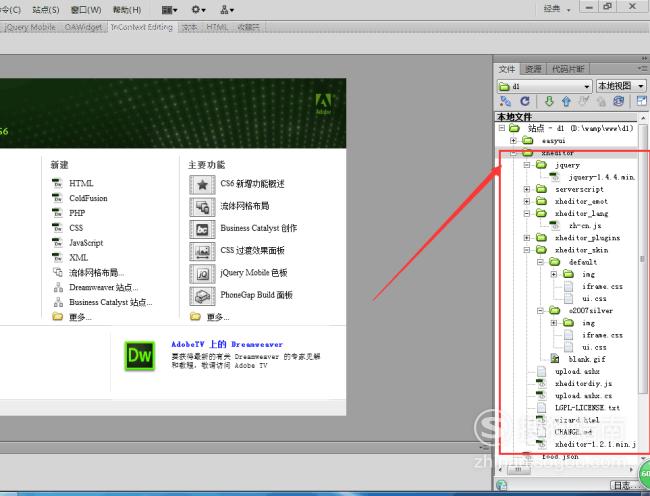
将xheditor文件夹复制粘贴到站点中
将解压完成的xheditor文件夹复制到站点中。
【步骤03】
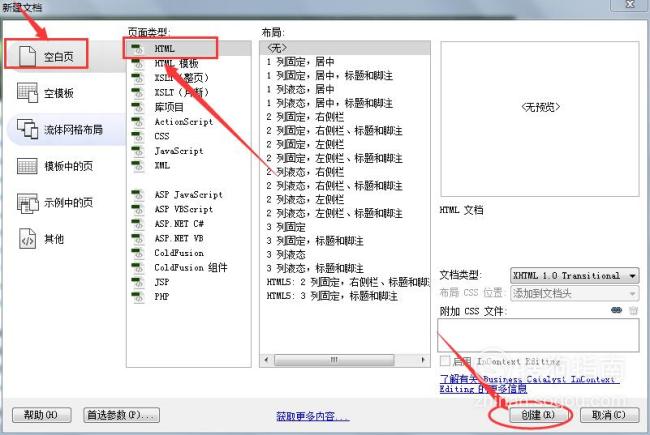
新建文件
在Dreamweaver软件中新建一张HTML文件。创建步骤:找到菜单栏中的【新建】--【文件】--【HTML】即可。
【步骤04】
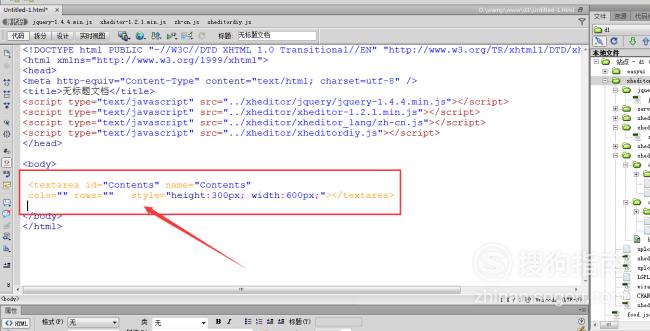
引入4个js文件
从xheditor文件夹中拉出4个js文件到HTML的head头部,如下所示:
<script type="text/javascript" src="../xheditor/jquery/jquery-1.4.4.min.js"></script>
<script type="text/javascript" src="../xheditor/xheditor-1.2.1.min.js"></script>
<script type="text/javascript" src="../xheditor/xheditor_lang/zh-cn.js"></script>
<script type="text/javascript" src="../xheditor/xheditordiy.js"></script>

【步骤05】
在body主体部分编辑一个textare文本区域代码,如下所示:
<textarea id="Contents" name="Contents"cols="" rows=""
style="height:300px; width:600px;"></textarea>
【步骤06】
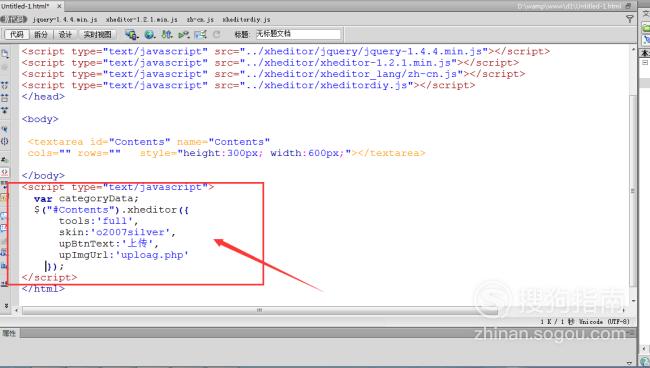
编写script脚本代码,定义xheditor
<script type="text/javascript">
var categoryData;
$("#Contents").xheditor({
tools:'full',
skin:'o2007silver',
upBtnText:'上传',
upImgUrl:'uploag.php'
});
</script>
【步骤07】
预览效果
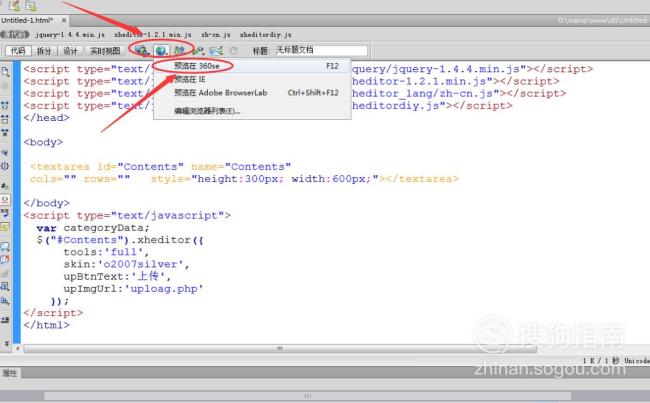
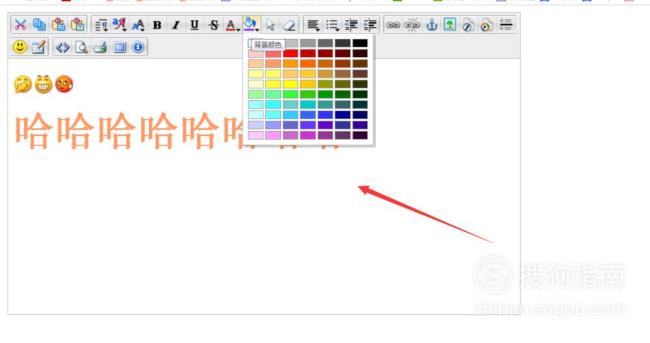
点击Dreamweaver菜单栏的地球图标,选择在【预览在360se】中。在浏览器中的预览效果如下所示:
【步骤08】
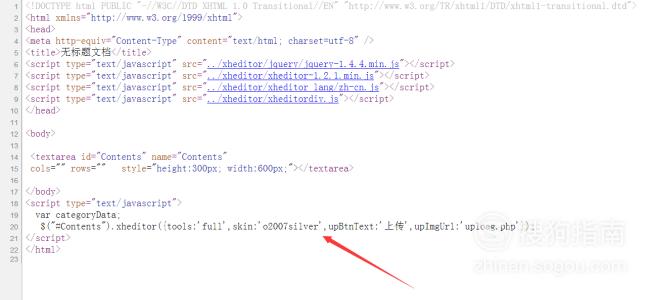
为了便于理解,贴出全部的代码,如下所示:
<head>
<meta http-equiv="Content-Type" content="text/html; charset=utf-8" />
<title>无标题文档</title>
<script type="text/javascript" src="../xheditor/jquery/jquery-1.4.4.min.js"></script>
<script type="text/javascript" src="../xheditor/xheditor-1.2.1.min.js"></script>
<script type="text/javascript" src="../xheditor/xheditor_lang/zh-cn.js"></script>
<script type="text/javascript" src="../xheditor/xheditordiy.js"></script>
</head>
<body>
<textarea id="Contents" name="Contents"
cols="" rows="" style="height:300px; width:600px;"></textarea>
</body>
<script type="text/javascript">
var categoryData;
$("#Contents").xheditor({tools:'full',skin:'o2007silver',upBtnText:'上传',upImgUrl:'uploag.php'});
</script>
</html>
特别提示
要记得下载xheditor包并解压,然后复制粘贴到站点中,引入4个js文件到head头部内。
标签:
相关文章
发表评论

评论列表